SHIPPING WORLDWIDE WITH ALL IMPORT TAXES PRE-PAID


 Geckota W-02 Vintage Mechanical Chronograph Dress Watch - Various Colour Grading Styles
 Lumetri Colour - No Corrections
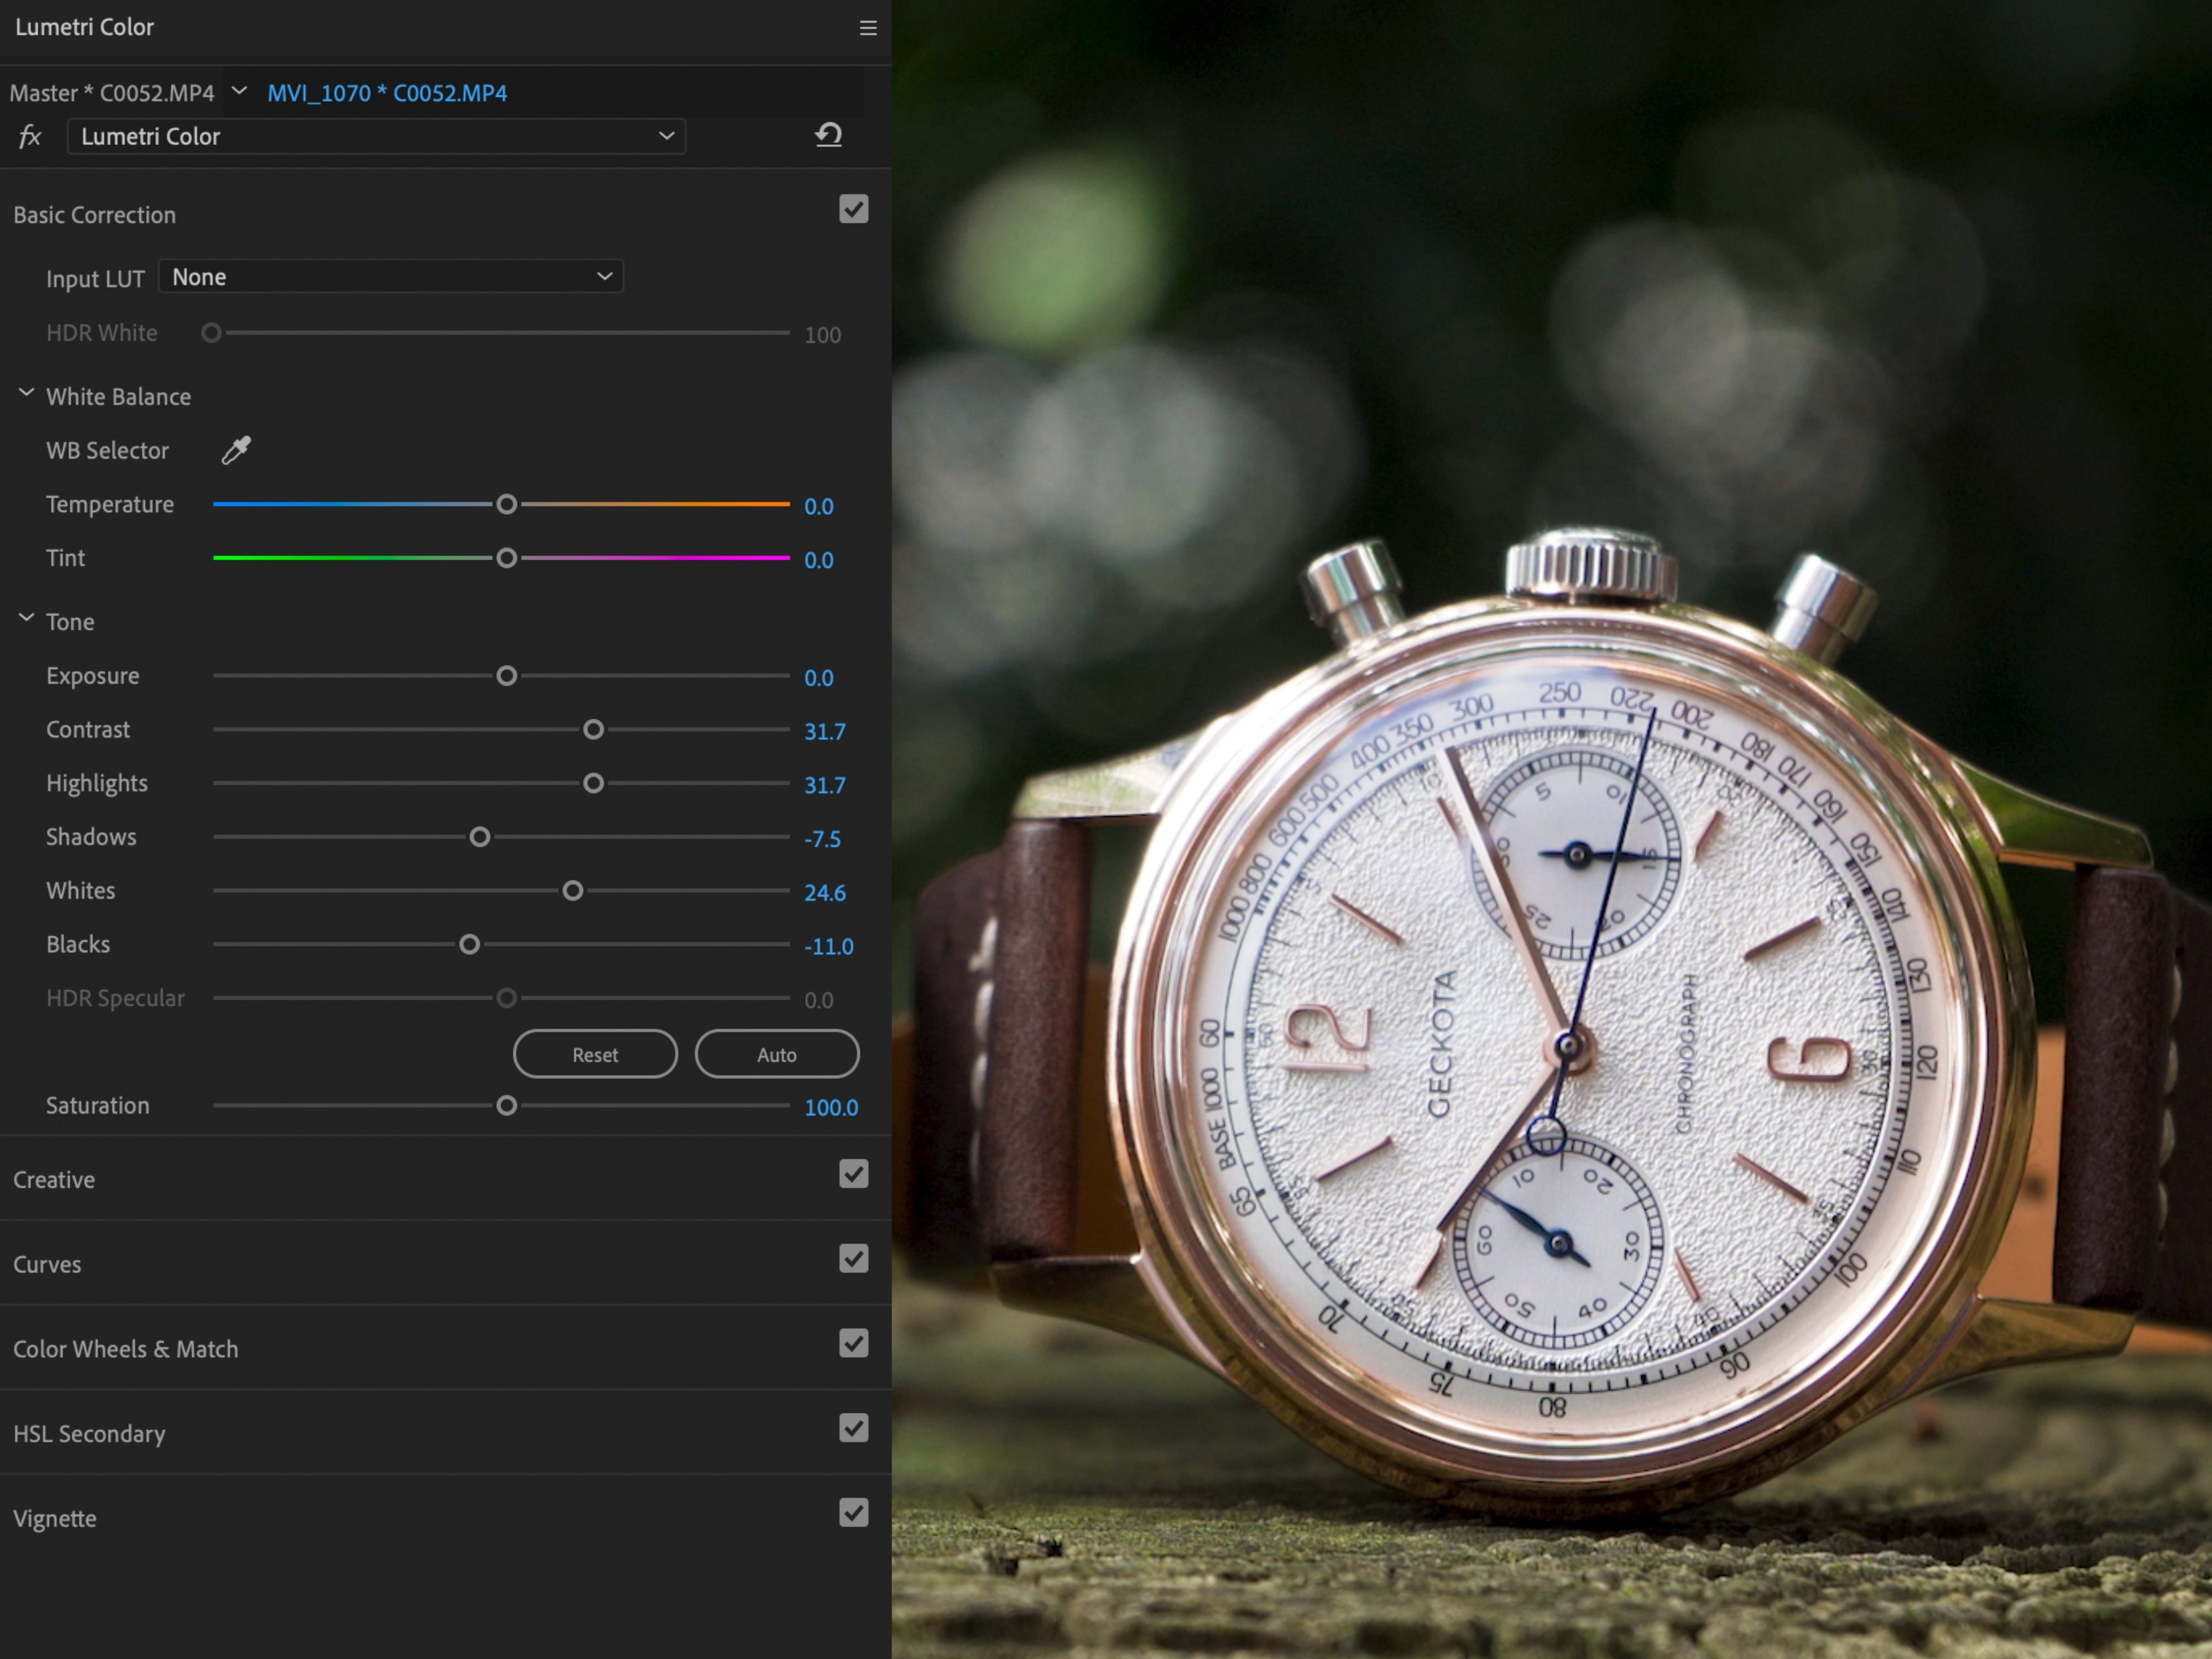 Lumetri Colour - Colour Corrected
 Premier Pro - Lumetri Scopes (Lost Details)
 Premier Pro - Lumetri Scopes