WORLDWIDE SHIPPING ALL TAXES PRE-PAID


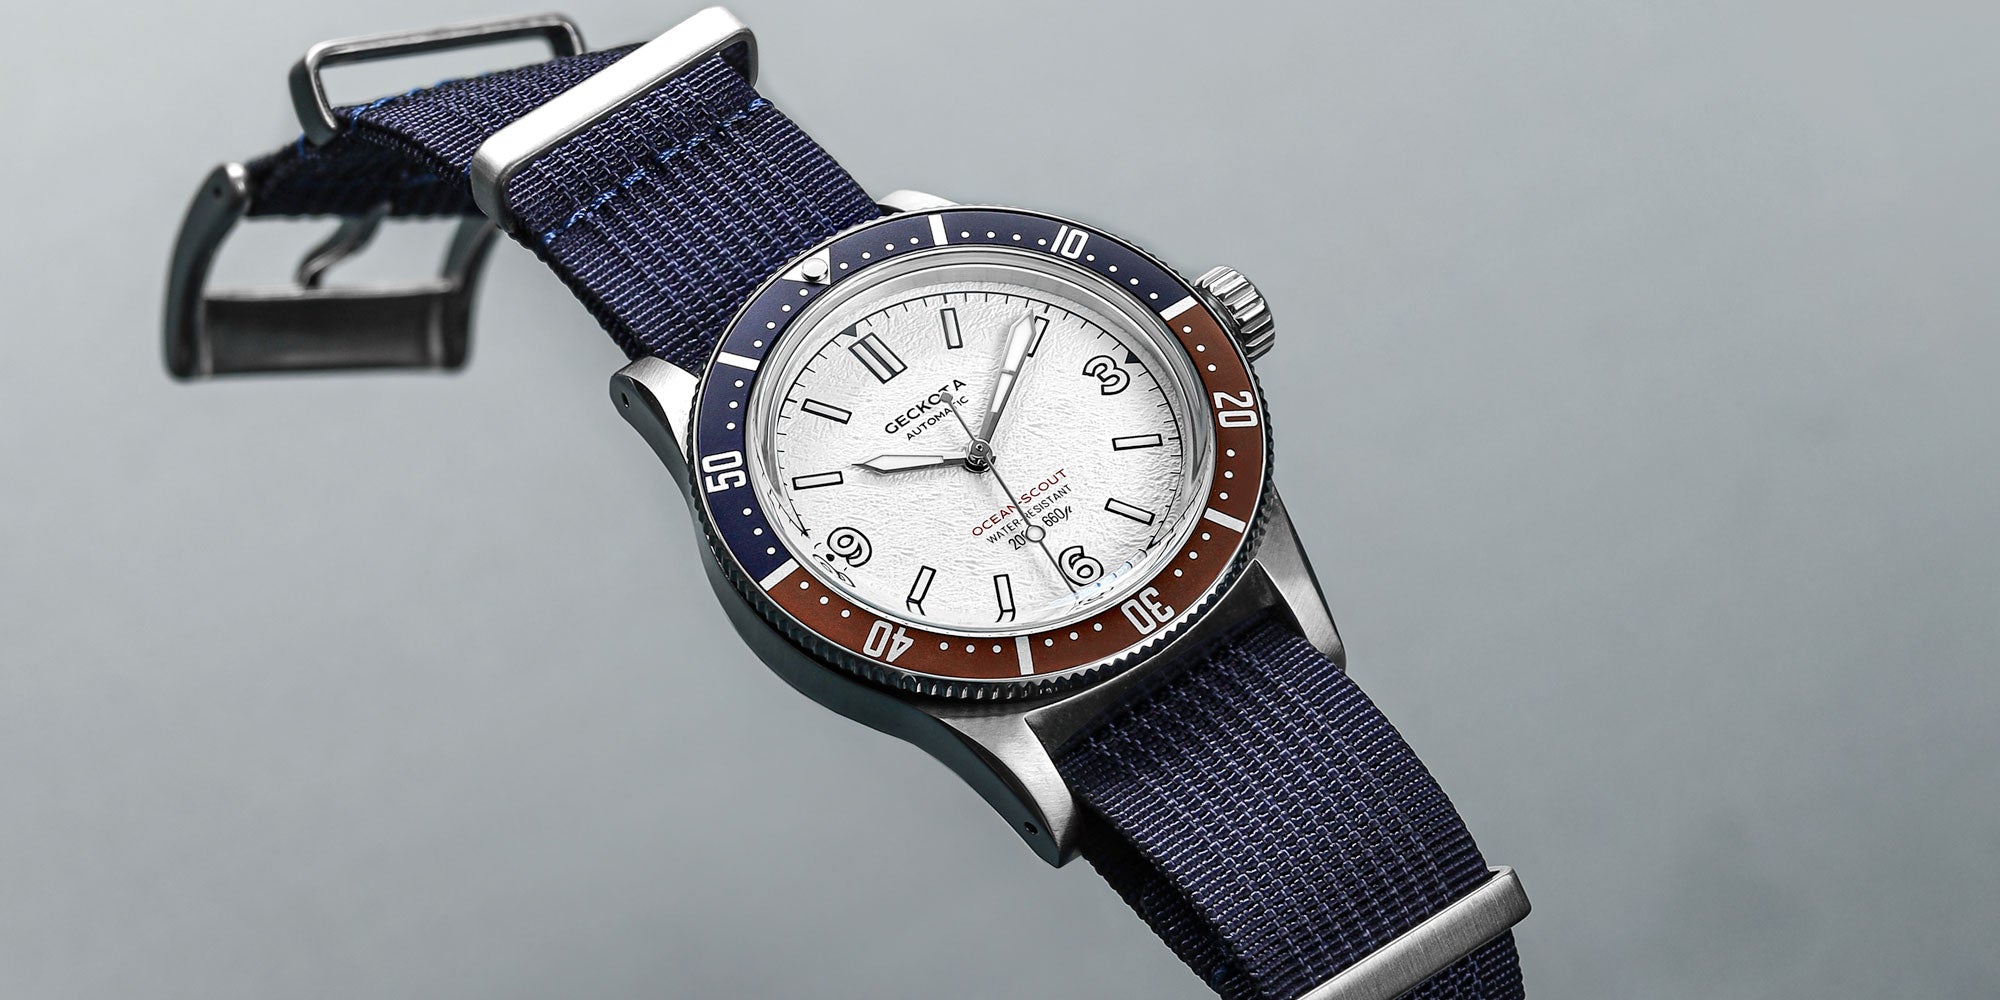
 Our product listings contain two types of photography, lifestyle and product-only. In most cases, product-only images would be the first photo you would see on the site, lifestyle shots afterwards. Having both style of images allows the individual to see the product in detail as well as what it would like like in life situations, such as wrist shots or the product sitting amongst other objects.
 It is essential to have high quality product-only images with the white backgrounds as it provides many benefits. The product can be seen clearly making it stand out with no distractions meaning the focus is purely on the product. A solid white background also provides consistency across the whole site.


 2. Be selected on the layer mask attached to your image.
 3. Select the Pen Tool. There are many different tools in Photoshop to remove the backgrounds of images. The most common being The Pen Tool, The Lasso Tool, The Magic Wand. However in most instances using the Polygonal Lasso Tool and Pen Tool are our preferred methods. The Pen tool allows you to create the perfect curve and The Polygonal Lasso Tool allows you to be more precise with your selection.
 4. Point and click (outlining) around the image being as precise as you can. Tip: Trace slightly inside the image to ensure no white is included in the selection.
 5. Join up the Selection so the whole image is selected, then right click and select 'Make Selection', then click 'Ok'.
 6. Select the Brush Tool with 100% hardness on a black colour picker.Begin to brush away the background until all white is removed (you can make the brush larger for certainty) as well as brushing around areas you want to keep. Repeat the selection steps to remove other white areas.
 7. Now the background has been completely removed!